How To Solve SalesForce Does Not Show In Outlook?
- Introduction
- What To Do If Salesforce Does Not Show In Outlook?
- 1. Allow Email Linking With Salesforce
- 2. Make The Salesforce Add-Ins Available
- 3. Restore The Default Settings For Outlook's Customization
- 4. Disable User Account Controls.
- 5. Verify And Add Email Function Is Activated For The Outlook Configuration.
- What Are The Steps To Installing Salesforce For Outlook?
- 1. Get Salesforce Ready For The Connection With Outlook.
- 2. Get Add-In From Outlook “Add-In Library.”
- Conclusion
- Frequently Asked Questions
Introduction
There was a time when installing Salesforce for Outlook was a breeze; however, that changed not too long ago. The new Side Panel may be to blame for Salesforce not showing in outlook, and turning off the feature may solve the problem. Having said that, there are a variety of other possible explanations for this issue.
In this piece of content, we will provide you with a few troubleshooting hints that will assist you in locating the Salesforce button in outlook.
What To Do If Salesforce Does Not Show In Outlook?
1. Allow Email Linking With Salesforce
- To access the user's profile on the Classic, tap on their name.
- Choose Setup, then navigate to Email Administration from there.
- Send an email to Salesforce and ensure that the Active checkbox is marked in the process.
- To access the user interface of the Lighting, select the User icon.
- Navigate to the Settings > Email menu.
- Tap “my email” in the Salesforce
- Check that the box is labeled Active for My Email to Salesforce.
- Launch the client again, and examine it to see if any changes have been made.
2. Make The Salesforce Add-Ins Available
These instructions are only necessary when the Salesforce add-ins in outlook have been deactivated.
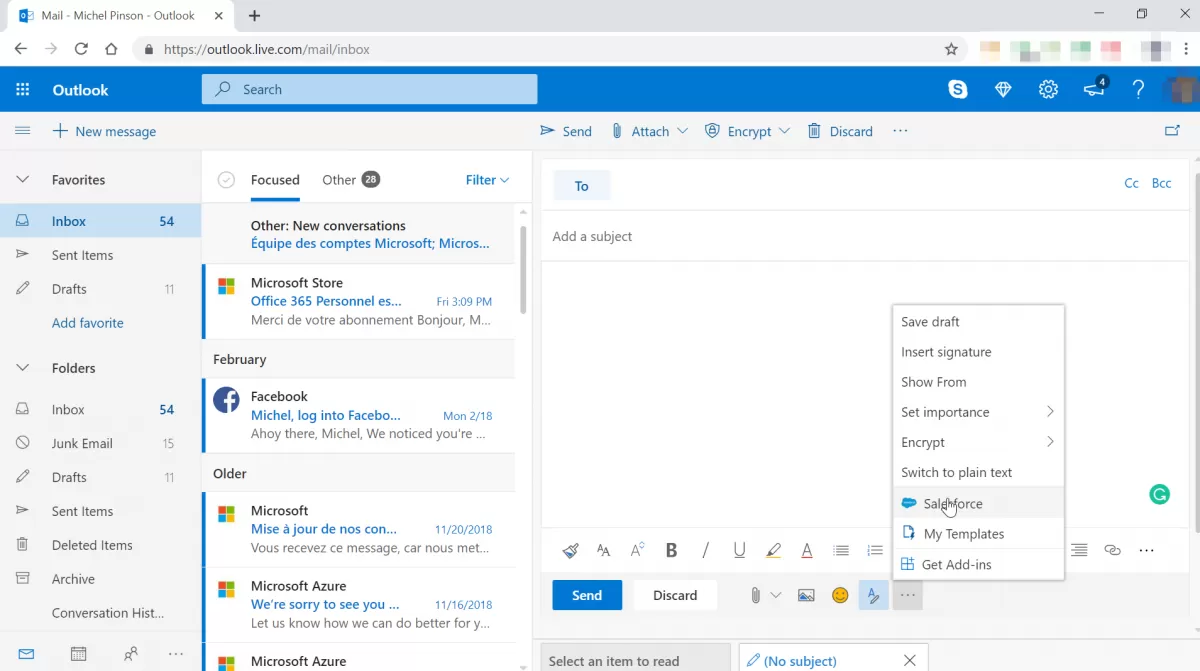
- Load the Outlook app and select New Email from the menu.
- Select Customize the Ribbon from the context menu that appears when you tap on the Clipboard ribbon.
- Select the Add-ins option.
- Choose Disabled Items from the Manage: drop-down menu at the bottom of the page.
- To continue, click the Go button.
- Choose an option whose name includes Salesforce and tap the Enable button.
- Choose the Close button.
- Once more, from the Manage option, pick COM Add-ins and then hit the GO button.
- The Outlook client should be closed.
- It is recommended that you assess for any adjustments after you have restarted Salesforce for Outlook.

3. Restore The Default Settings For Outlook's Customization
You also have the option to reset just the tab that is currently chosen. Choose the default tab whose options you want to restore to their original state within the screen, allowing you to customize the ribbon.
- From the File menu, click the options.
- Choose the option to Customize the Ribbon.
- It is possible to save the currently active configuration to a file. If it is needed, the users can import it.
- Click the “Reset” button within the window labeled Customize the Ribbon.
- After that, select the option to Reset all customizations.
4. Disable User Account Controls.
- To open the “Run” command prompt, press the Windows Key and the letter R together.
- Simply opening the System Properties box requires you to type misconfiguration followed by clicking the OK button.
- To access the tools, select the Tools tab.
- Click the Launch button after selecting Change UAC Settings.
- Move the slider towards the Never Notify box.
- Click the OK button, then click Yes when you are prompted to accept the change.
5. Verify And Add Email Function Is Activated For The Outlook Configuration.
If you want to examine or make changes to the settings, you need to have permission as a Salesforce System Administrator.
- To access your profile on the Classic, select your name.
- Then, simply select the “Setup” option.
- Choose the Desktop Integration option.
- To enable Salesforce for Outlook, navigate to the appropriate menu item and choose it.
- To access the user interface of the Lighting client, select the User icon.
- Navigate to Settings > Desktop Add-ons in the menu.
- Choose Salesforce for Outlook, then check to see that it's enabled.
What Are The Steps To Installing Salesforce For Outlook?
It would help if you made some adjustments to the settings in Salesforce, and this helpful guide will lead you to the following step-by-step procedures.
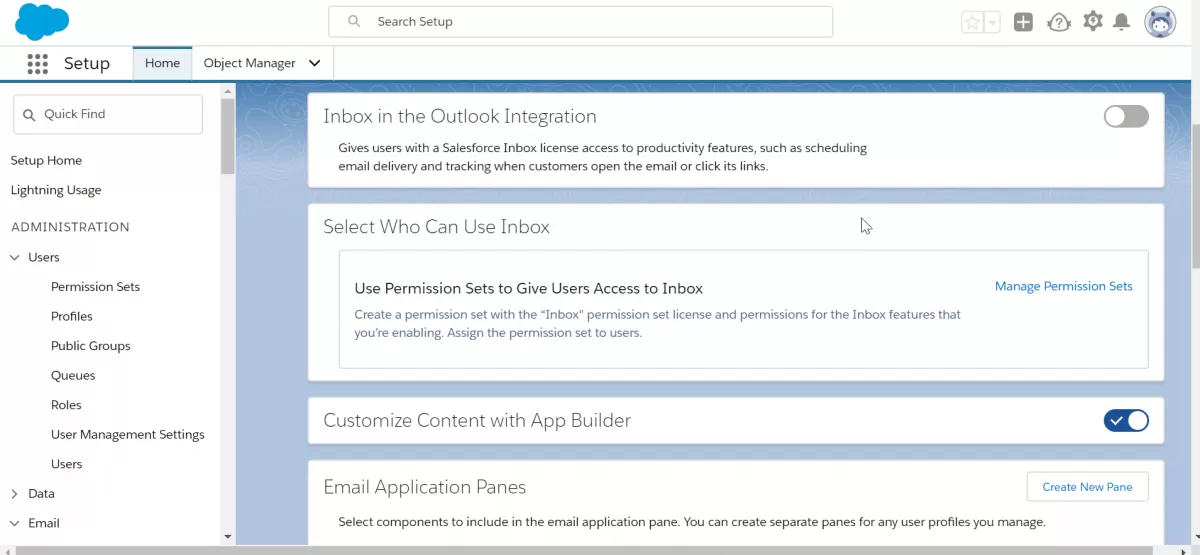
1. Get Salesforce Ready For The Connection With Outlook.
- Go to Salesforce login.
- To adjust the settings, click the taskbar icon in the upper-right sidebar.
- Click Setup
- Find the box labeled “Quick Find,” and then type “Outlook'' into it.
- Choose from the Outlook Interface and Syncing options.
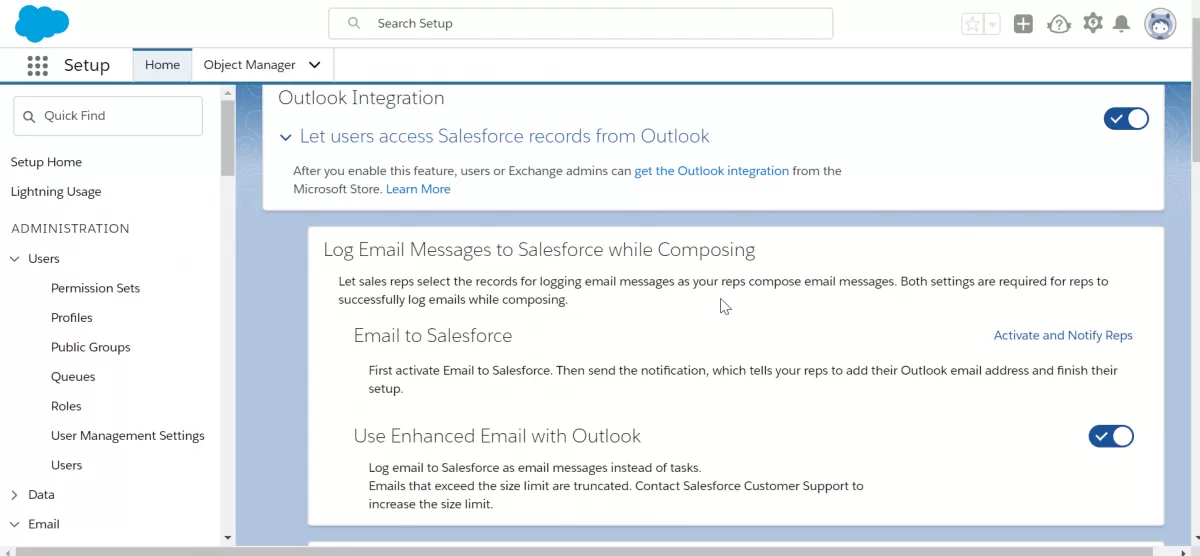
- Navigate to the tab labeled Outlook Integration.
- Users can browse Salesforce data on outlook by clicking the corresponding sliders and activating them using email in outlook.
- At the Email to Salesforce icon, choose the Activate and Notify representatives checkbox.
- Simply select the Edit button.
- Select the checkbox for Active, then click Save.

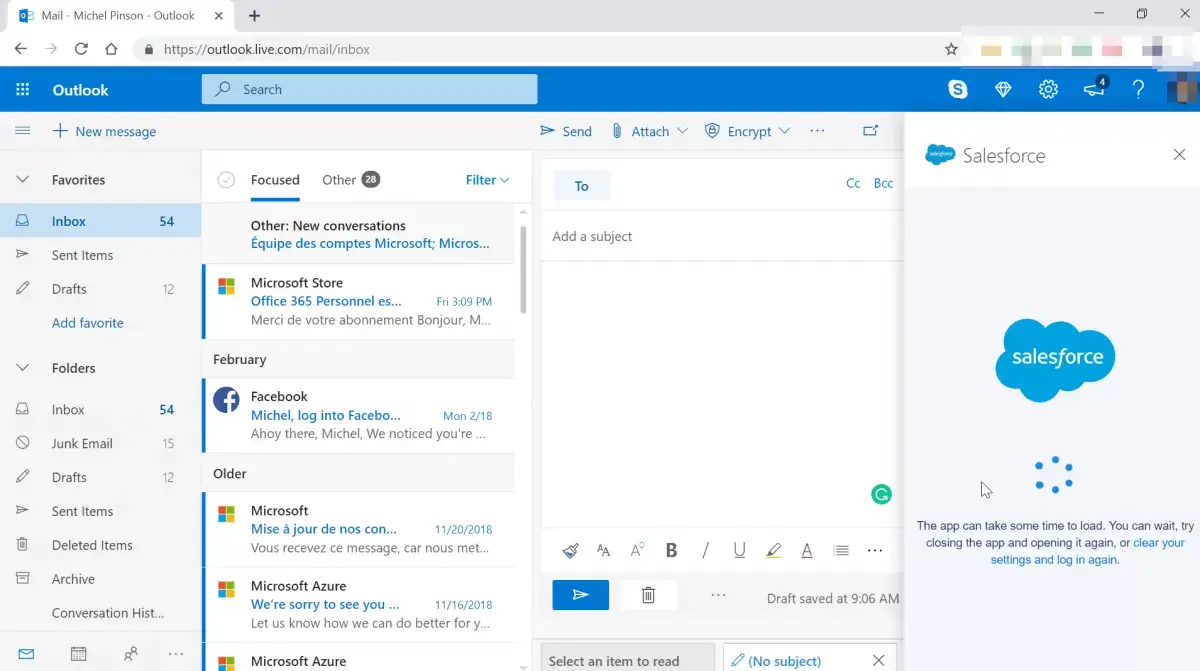
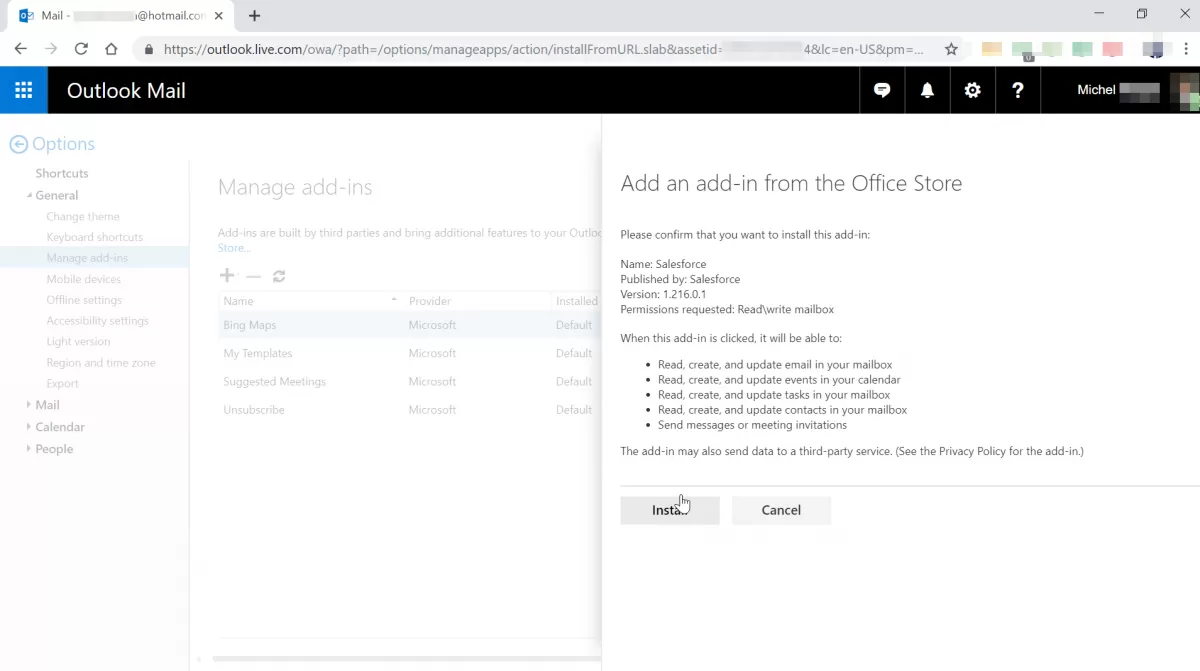
2. Get Add-In From Outlook “Add-In Library.”
- Open the Outlook
- Click the Get Add-ins option.
- In the box labeled Search, put Salesforce.
- Pick the add-in with the label that reads Boost Productivity. In some cases, it will almost certainly be the first search result.
- Choose the Add option.
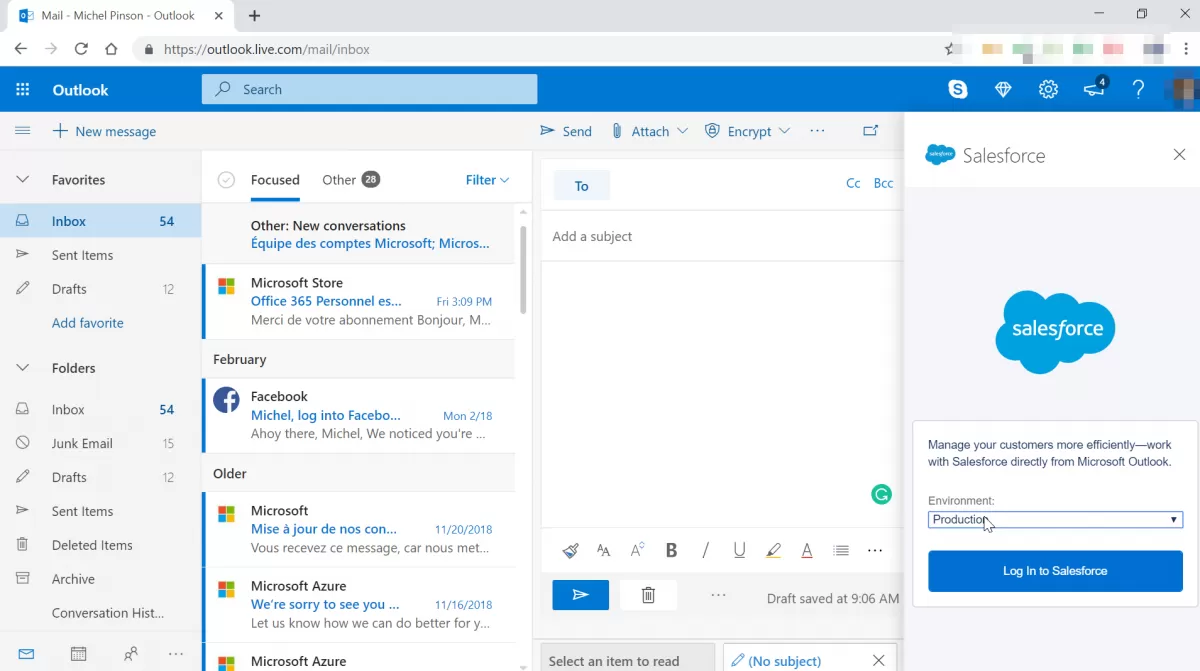
- Go to Salesforce login.
- Please enter your credentials for Salesforce. (You will be required to verify the link between the email account and your Salesforce account when it has been established.)
- Then click the Confirm button.
Conclusion
Outlook is a complex of corporate programs that contains many functions: contacts, tasks planner, notebook, calendar and, of course, a postal client.In order to start using advantages, start with install Salesforce for Outlook and get to work.
The problem with the Salesforce does not show in outlookis typically caused by the add-ins configuration in the Salesforce for Outlook application being turned off. We hope the list of guides provided here will be helpful to you.
Frequently Asked Questions
- What steps can you take if the Salesforce integration is not showing up in Outlook?
- Troubleshooting steps include checking the Salesforce plugin installation, ensuring Outlook compatibility, and verifying user permissions for integration.