SalesForce Sections
- SalesForce Sections
- How to create a page layout in SalesForce Lightning?
- What are the best layouts in SalesForce?
- What are the best practices for SalesForce page layouts?
- What are the steps to create a Lightning page layout?
- Customizing Lightning Page Buttons: A Step-by-Step Guide
- Saleforce-sfsection
- Frequently Asked Questions
The article tells about what SalesForce is, how to create layouts in this system, and how all this can help in doing business.
SalesForce Sections
Before proceeding with the consideration of the sections of this program, you need to understand what it is all about, and what it is used for. And it should be noted right away that to work in the program, you need to be proficient in English, since the program and all available services are in English.
Salesforce positions itself as a platform that enables customers to achieve maximum success and is designed specifically for the tasks of sales, service, marketing, analysis and communication with your customers.
The platform allows you to create page layout in Salesforce. You can also develop new functionality for standard CRM modules, automate complex business processes for the needs of the company, create custom templates for emails, and so on.SalesForce was created by an American company in order to simplify customer relationship management and more:
- It is very convenient to maintain a database of customers by name, with contacts;
- Deal management - everything about orders, sales, payment;
- Convenient document management of the organization.
The main task of this system is that, firstly, it was a huge multi-user data network, and secondly, that there was as little paperwork in the company as possible.
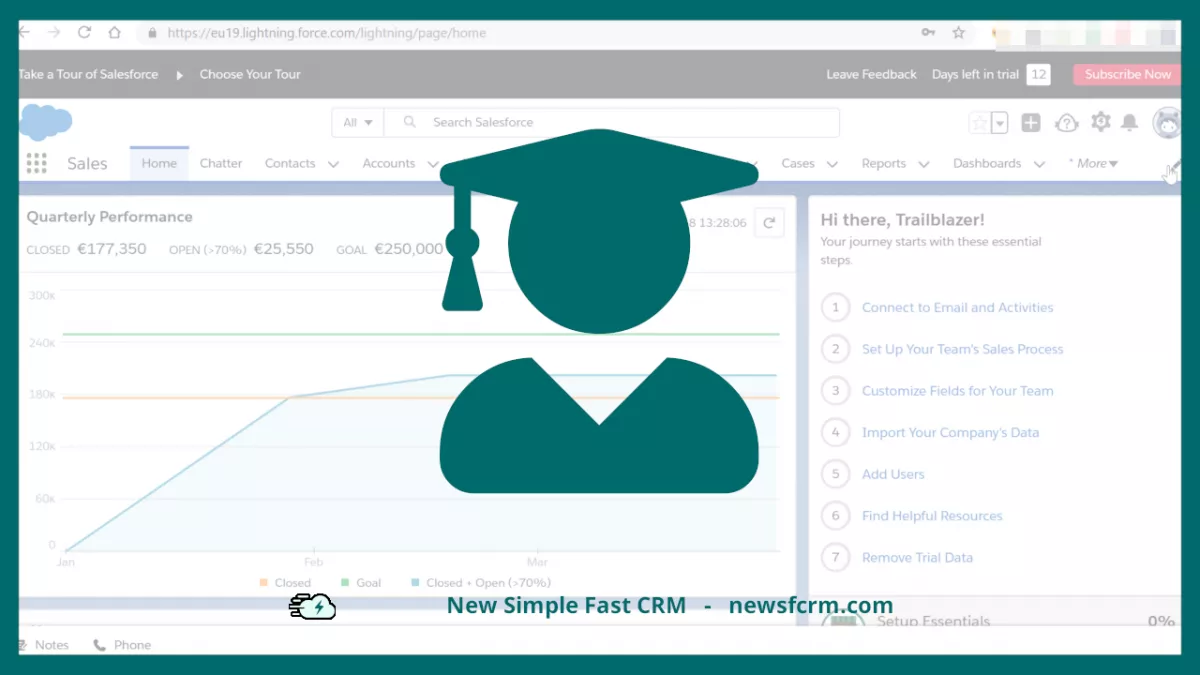
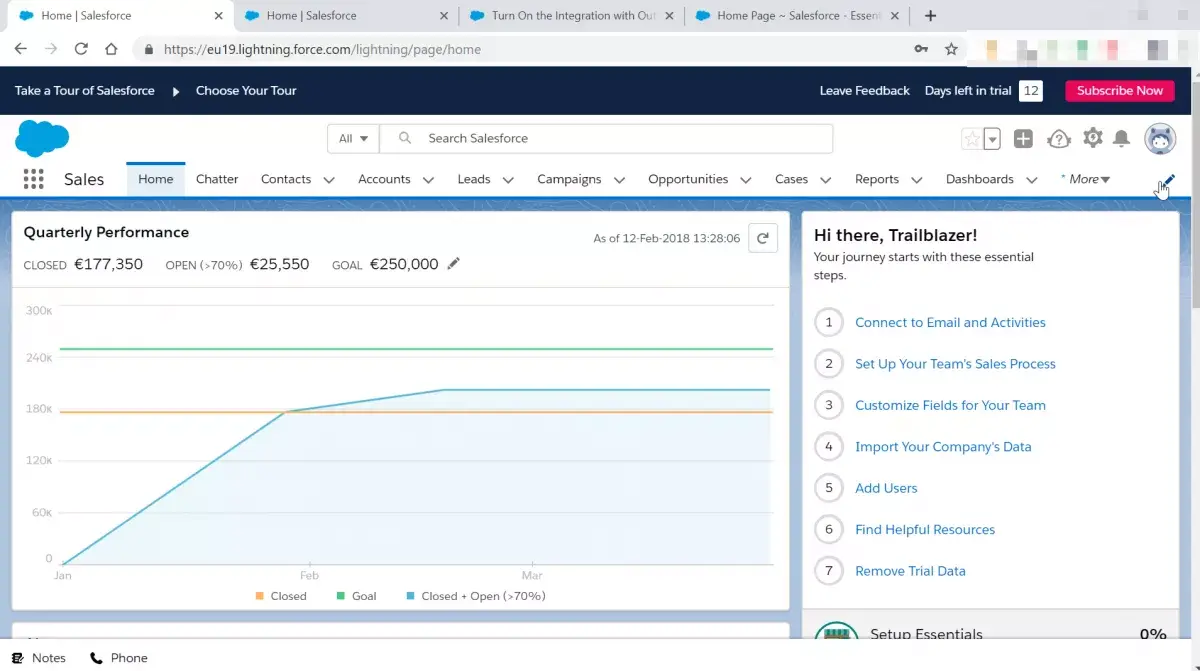
If we talk about SalesForce sections, then there can be ten of them on a page, moreover, this section is editable - you can select only what is needed.
The first button is Home. There is a home table on any platform. The next section button, Chatter. This button contains various mailings and notifications for customers and employees of the company. Further, according to the standard, the contacts button is located, using it you can also find both employees and customers. The next two buttons are accounts and leads. Next are the opportunities and cases buttons. Next comes a very important section “reports”. After that, there is a section for dashboards, files and tasks.
How to create a page layout in SalesForce Lightning?
Generally, there are three options available in SalesForce to create the best sales force layout. SalesForce Basic is the “Basic Document”.
This layout is very easy to use - viewing and editing documents. In order to create a new document, you need to press just a few buttons - create a document, save it and, if necessary, attach files. In this style, a lot of functions are not available, since they are implemented in subsequent updates.
The next mode is Extended Document. In this page style, you can already define specific recipients, add a document name, as well as a choice of various parameters, as well as attach files, and the actual sending itself. The extended document style is usually used for Attachments.
The style we're interested in is called Default, or Lightning. This layout currently has two limitations: it does not have a set of fields; you can upload documents up to 700 kb, while in the extended document style you can upload documents up to 1.7 mb.
What are the best layouts in SalesForce?
In fact, each of the layouts available in this program has its own pros. Sales Page Layout Best Practices - The two main layouts that users use most often are the Default layout and the Advanced Document layout. As mentioned above, there are only two limitations in the Default layout, and they are fully compensated for by the Advanced Document layout, which has useful features such as defining specific recipients and many other necessary features.
Based on this, it turns out that the best layout in SalesForce is Lighting, since it has the least restrictions and the most available functions.
What are the best practices for SalesForce page layouts?
One of the interesting practices of page layout in SalesForce is read-only. To create such a layout, you need to follow the instructions below:
- Start by creating a read-only page layout. The advantage of this function is that the user does not see that the fields on the layout are not editable.
- After that, you can create a special validation rule that prohibits editing the record.
However, these layouts also have disadvantages, for example, for the second method, the disadvantage is that the user, not immediately seeing that he cannot edit, fills in the fields that he needed to fill, and only at the end, by clicking on the save button , sees an error for forbidding editing.
What are the steps to create a Lightning page layout?
In order to use this page layout, you need to reset it, as well as reset the document buttons. How to do this is shown in the instructions below.
- Select “Options”, then “Platform Tools, then“ Objects and Fields ”, and then“ Object Manager ”.
- Next, click on the Document label.
- In the left pane, click Page Layouts.
- After that, click Assign a page layout, and then Change assignment.
- By clicking on the heading “Page Layout”, a list is opened where you can select the required profile.
- From the list that opens, select Professional Document Layout, and then click the Save button.
Customizing Lightning Page Buttons: A Step-by-Step Guide
There are 12 points in this manual, after completing which the setting of the buttons in this layout will be completed successfully.
- Select “Options”, then “Platform Tools”, then “Objects and Fields”, and then “Object Manager”.
- Next, select the label Document.
- On the left pane, click “Buttons, Links and Actions”.
- For the “Create” button, select the action menu and find the “Edit” button there.
- Next, you need to select the Visualforce page parameter, and immediately select the Agreement Editor from the drop-down list.
- “Save”.
- As in step # 5, click the action menu for the “Edit” button and select “Edit”.
- Turn on the “Visualforce page” parameter again, click the “Agreement Editor” button in the drop-down list.
- “Save”.
- Click the action menu for the View button and select Edit.
- Also, as in the previous steps, click on “Visualforce Page” and select “Agreement Editor” from the drop-down list.
- “Save”.
Saleforce-sfsection
This company operates on the basis of cloud technologies, and for its convenience it is very popular among large companies in the market.
Everything that Salesforce has to offer has been combined into groups based on functional areas. So, we can highlight the Cloud of sales, which was created in order to automate these very sales, as well as in order to manage customer relationships. There is also an option for the so-called small business, namely for a company that employs fewer than five people.
Frequently Asked Questions
- How can customizing sections in Salesforce improve user experience and data management?
- Customizing sections allows for a more organized and efficient interface, making it easier for users to navigate and manage data pertinent to their roles.