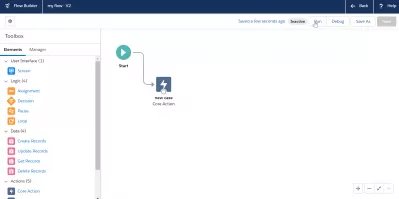
SalesForce: How to activate a flow in the SalesForce flow builder?
How to activate a flow in SalesForce Lightning flow builder?
Activating a flow in SalesForce flow builder can be done in the setup process automation menu, where it is necessary to create a new view to be able to add a flow in the view using the flow builder, where it will also be possible to run the flows.
Keep in mind that a flow is not the same as a SalesForce workflow, but both of them can be created in the setup process of SalesForce accounts that have the necessary access rights.
How to create a workflow in SalesForce workflowHow to create an account in SalesForce
Once the flow will have been added to the view using the flow builder, it will be possible to activate it by running it in the flow builder screen.
See below in details how to create a flow and active it in SalesForce Lightning.
Flow Builder - Salesforce HelpAccess the SalesForce account setup
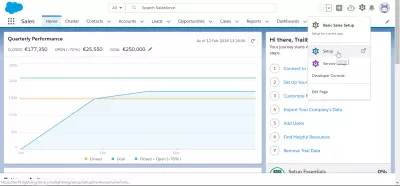
Start by opening the setup menu which is accessible in the upper right corner gear icons of SalesForce accounts next to the navigation bar.
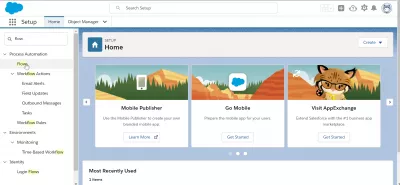
Add custom object to navigation barOnce in the setup menu, the easiest way to access SalesForce flows and activate some of them is to use the search bar to find the flows option.
Creating a new view for flows
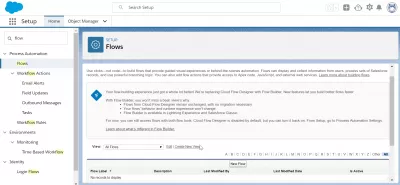
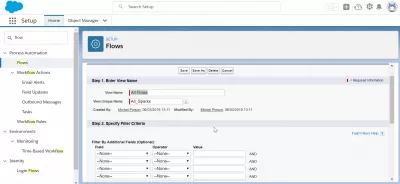
The first step to be able to activate a flow will be to create a view, by clicking on the create new view link.
A view name and a view unique name will have to be provided, and it will be possible to add several filter criteria if necessary.
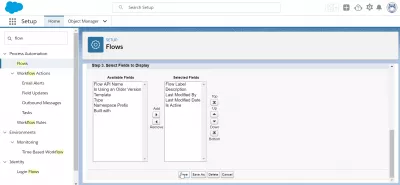
Finally, select the fields that will be displayed in that view to create, such as: flow API name, is using an older version, template, type, namespace prefix, built with, flow label, description, last modified by, last modified date, and is active.
Finish the view creation by clicking on the save button.
9 Tips for Using Salesforce's Lightning Flow the Right WayCreation of a new flow
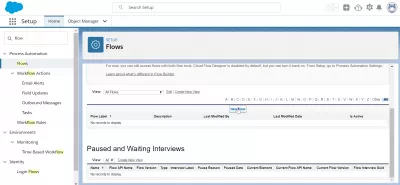
Now that a view has been created, add a new flow to that view by using the new flow button.
Using the SalesForce flow builder
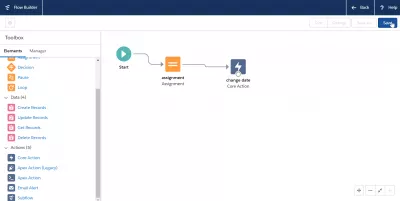
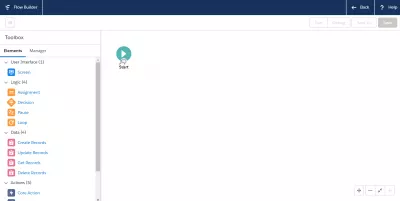
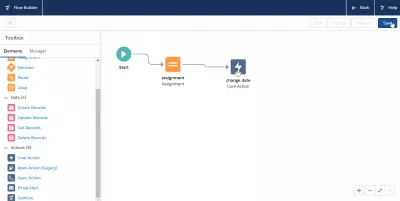
Using the SalesForce flow builder to activate new flows starts by clicking on the start button, which is displayed in the flow builder from the beginning.
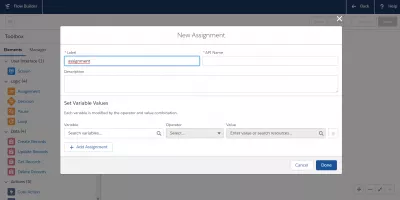
A form to create a new assignment will be displayed, in which several information can be entered: label, API name, description, and the possibility to set variables values.
After the different assignments required for your project will have been created using the SalesForce flow builder, continue by clicking on the save button to activate the corresponding flow.
Activating a new flow in the flow builder
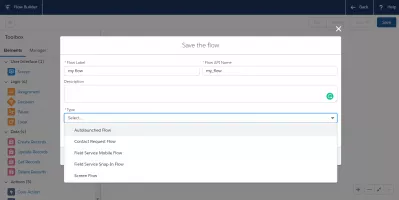
Save the flow newly created with its corresponding assignments in the flow builder by entering a flow type, which will be one of the following:
- Autolaunched Flow,
- Contact Request Flow,
- Field Service Mobile Flow,
- Field Service Snap In Flow,
- Screen Flow.
After having selected the right option, leave the flow builder and activate the flow by saving the flow under creation.
Activating the flow created in setup
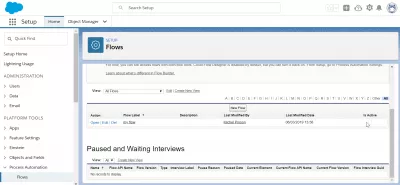
Once flows have been created, activate them by ticking the corresponding box under the is active option of the flows list.
Then, if the flow is marked as inactive, click on run to activate the SalesForce flow from the flow builder screen.
Lightning Flow Builder: A how-to guide with examples - MediumFrequently Asked Questions
- What are the critical steps to ensure a flow works correctly before activation in Salesforce?
- Critical steps include thoroughly testing the flow, validating all conditions and actions, and ensuring it aligns with the intended business process.

Yoann Bierling is a Web Publishing & Digital Consulting professional, making a global impact through expertise and innovation in technologies. Passionate about empowering individuals and organizations to thrive in the digital age, he is driven to deliver exceptional results and drive growth through educational content creation.
